what is the first thing you need to do before looking through the ocular lenses?
Whenever I recollect of a useful photography tip, I always write it downwardly for later. Near of them are forgettable, but some are and so helpful that I try to tell them to as many photographers every bit possible. This article contains 20 of the best. These bite-sized photography tips are easy to empathise, roofing everything from beginner camera technique to inventiveness and composition. If yous're learning photography, these should exist especially helpful for you lot along the way.
I've also fabricated a video with a split up list of tips, if you're more of a visual learner. It has some more "advanced" tips (mainly some bottom-known photography techniques I like to utilise) that are different from the tips in the rest of this article. Yous can picket information technology here:
Now let's take a expect at my favorite photography tips for beginners.
Work with Your Composition
To take engaging photos, you need to be engaged with what yous're doing. Don't just fly by on autopilot. Instead, put idea into your composition and effort to brand your photos every bit good equally possible.
That starts with knowing the basics of how to compose expert photos. Don't cut off important parts of your subject with the border of your frame. Keep your horizons level, and try to eliminate any distractions in your photograph by adjusting your composition. Run into if your photo has a sense of balance and simplicity. And if the photo doesn't look adept on your first try, keep experimenting until you get it right.

Use the Camera You Already Take
Photographic camera gear is not all that important.
There are countless cameras, lenses, and other accessories on the market place today. We spend a lot of time reviewing them at Photography Life, and it's true that some are ameliorate than others (or better suited for a given job). But once you've tested plenty of them, the existent takeaway is that pretty much everything today is splendid. The differences are nigh always small, especially at a given price.
So, use the camera you already have, and don't look dorsum. In almost every fashion, today's entry-level DSLRs are better than the top-of-the-line picture show SLRs ever were. Yet somehow those motion-picture show photographers managed to capture beautiful, iconic photos that withal expect peachy today.
Much more important are your creative skills and knowledge of camera settings. Focus your effort on those, non on collecting camera equipment.
Learn Which Settings Matter
There are a lot of camera settings, and information technology takes some exercise to get them right, specially as a beginner. Even advanced photographers won't always do everything perfectly. Only it's worth learning how to set your camera properly, and which photographic camera settings matter the most, then you have the best chance to take the photos you want.
Get-go, attempt practicing with camera modes other than full Automobile. You won't acquire anything if your camera is making all the decisions for you. It might be disruptive at outset, but hopefully our articles on aperture, shutter speed, and ISO will give you a good head get-go. Those are the three most of import settings in all of photography.
Aside from aperture, shutter speed, and ISO, learn how to focus properly past practicing with the different autofocus modes. You'll probably prefer unmarried-servo autofocus (also known as One-Shot AF) for stationary subjects, and continuous-servo autofocus (also known every bit AI Servo) for moving subjects. Don't employ manual focus unless information technology's so dark that autofocus isn't working.
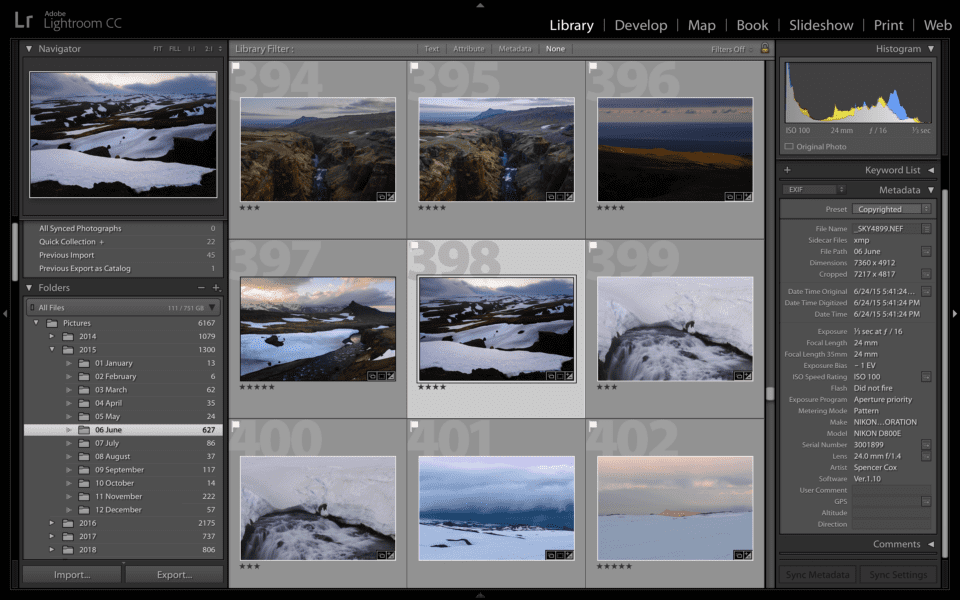
Lastly, shoot in RAW if you want to edit your photos, or remember at that place'due south whatever run a risk you lot'll edit them in the future. JPEGs wait good out of camera, but the files have much less latitude for post-processing. (If you aren't sure, shoot RAW+JPEG, and keep the RAWs for after just in case.) See RAW vs JPEG for more.

Don't Overexpose Highlights
When you are picking your camera settings, it is critical to avoid overexposing highlights in a photo. The reason? Information technology's simply incommunicable to recover any detail from white areas of a photo. Personally, I prefer the sky in my photos to have nice texture and color, rather than being just a large, featureless hulk, and I bet y'all exercise too.
It's pretty like shooting fish in a barrel to go on your highlights intact. Just this is where shutter speed, aperture, and ISO are and so important. These are the only camera settings that direct affect the brightness of a photo (ignoring wink settings, of course). Even exposure compensation – an of import setting itself – just tells your camera to change one or more of these three variables.
When you lot're taking photos, watch the camera screen to see if there is any overexposure. If there is, the first thing you lot should do is lower your ISO to its base value (normally ISO 100). If it's already there, use faster shutter speed. That will take care of the effect. As for discontinuity, make certain it isn't set to a crazy value (f/32, f/45, etc.) and you'll be good.

Pay Attention to the Light
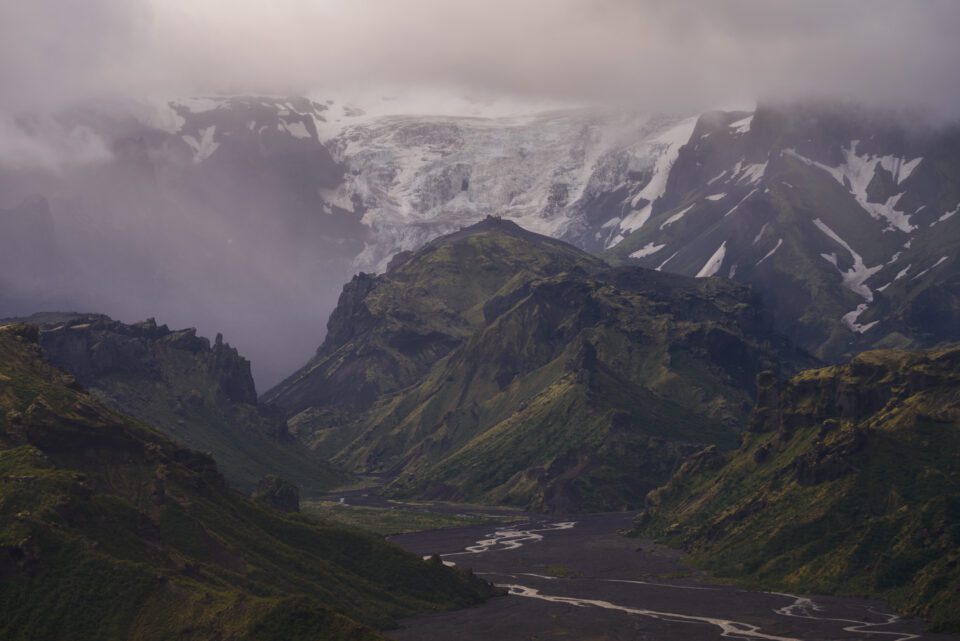
Probably the single most important part of photography is light. If you take a photograph with proficient light, yous've taken a huge step toward getting a good picture. Simply what counts as skillful lite? Information technology'southward not all well-nigh sunsets.
Ofttimes, the goal here is to balance the lite'due south intensity between your subject and background. Even if you're photographing an amazing sunset, the photo could be ruined by a completely dark and silhouetted foreground.
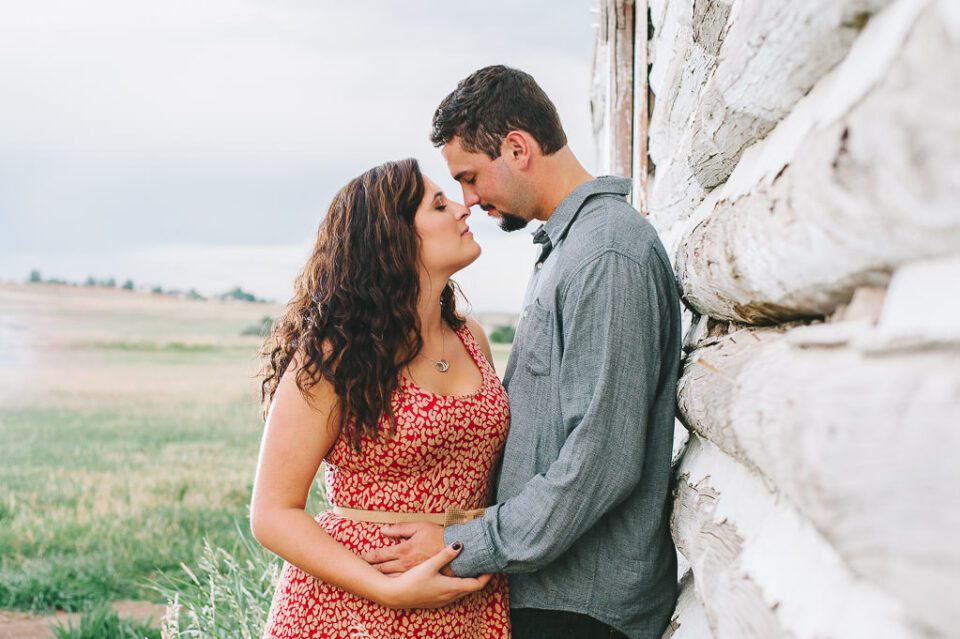
The easiest way to solve this is to pay attention to the direction and softness of the low-cal. If the light is besides harsh, y'all could get bad shadows going across your subject area, which is especially a problem for portrait photography. If the light is coming from an unflattering angle, meet what you can practice to move the light source (in a studio) or move the subject (outdoors) – or await until the lite is better (landscape photography).
Also, if yous're taking handheld pictures, make sure there is enough light. If not, use a wink or move where it's brighter. The easiest way to get bland, discolored photos is to shoot in environments without enough calorie-free.
Take Your Fourth dimension
Information technology's piece of cake to make mistakes in photography if you lot aren't careful. The best style effectually this is to slow down and take your time whenever possible, especially when you are offset beginning to learn photography.
First, double-check your camera settings. If yous're shooting outdoor portraits on a sunny day, simply you're using final night's settings for photographing the Milky Fashion, something is terribly wrong. Boring down and have the time to get it right.
Then, go along the same mindset for every other of import decision. Is your composition as good as possible? Did y'all autofocus in the right identify? Accept you done everything possible to amend the lighting conditions?
And don't listen to people who tell y'all to avoid reviewing photos in the field. Sure, information technology's a bad idea to review photos when something amazing is happening in front of you, simply you'll about always have some downtime betwixt shots. Figure out the problems with an image in the field – not back at your computer.
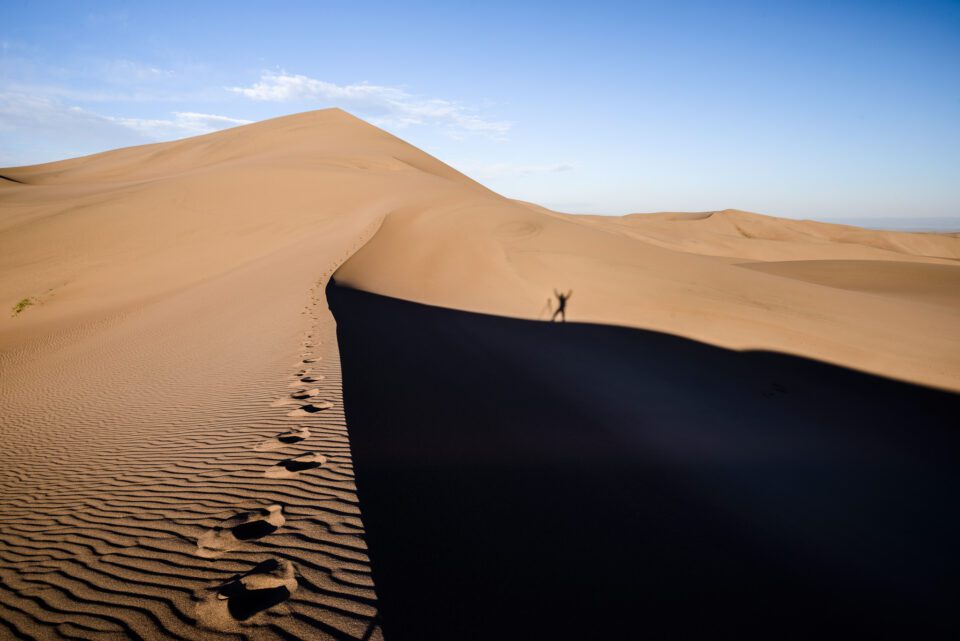
Move Your Anxiety
It'due south like shooting fish in a barrel to become stuck in i place while y'all're taking pictures. Don't fall into that trap. Instead, move your feet (or your tripod) as much equally possible. Climb on top of things, alter the peak of your camera, walk forward and backward, do whatever you need to practise – merely keep moving.
If you take a dozen photos from the same height, facing the same direction, without moving your anxiety or tripod at all, guess what? They won't exist very unlike. If your unabridged portfolio is taken from the same peak and without any experimentation, yous're missing out on some keen photos.
Moving around is the only way to change the relative sizes and positions of the objects in your photograph. Don't similar that your subject is too big and the landscape in the background is too small? Stand back and zoom in. Want to fix a rock that looks distracting? Motility around until it'due south out of your composition, or too pocket-size to be a nuisance.

Know When to Use a Tripod
Tripods are one of the greatest inventions in photography. They all merely eliminate ane of the trickiest problems there is – a lack of light. With tripods, you lot can shoot multi-minute exposures and capture details so dark that they are invisible to the human centre. Even in a brighter scene, tripods improve the stability of your composition and help you have sharper photos.
So, when should you use a tripod? If your bailiwick is stationary, almost always. That ways mural photographers, architectural photographers, and yet life photographers better have a good excuse if they aren't using a tripod.
Outcome photography and activeness are a bit different considering information technology's true that a tripod can boring you down. The same is truthful of travel photography; equally much every bit you may want to bring along a tripod, information technology might not be worth the hassle.
That'south fair, but know that you're missing out whenever you go out your tripod at home. If you offered me the choice between an entry-level DSLR and a tripod versus the best photographic camera/lens combo on the market without one, I'd pick the tripod kit every time.
Know When to Employ a Wink
Flashes aren't simply meant for dark environments.
Don't get me wrong – they're great if you lot need some actress low-cal. Get an external flash, tilt information technology at the ceiling, and utilise a relatively long lens (50mm or longer). Everyone yous know will be amazed at the quality of your consequence photos. It's the easiest manner to become skillful results without actually knowing what you lot're doing.
But flashes are useful outdoors, too, fifty-fifty in the middle of the solar day. If you've ever heard of "fill flash," this is why it's then important. You tin can make full in ugly shadows on your subject just by using a gentle flash – and most people looking at the photo won't fifty-fifty be able to tell.
Information technology'south silly, only I similar to tell people that their camera'due south built-in wink is more useful on a bright, sunny mean solar day than in the night. That advice holds just equally true here.
Clean Your Camera Lens
I've seen too many people walking around with the forepart chemical element of their camera lens dirty, dusty, and smudged. That's the easiest way to get blurry photos 100% of the time.
Of grade, a little bit of dust won't practise whatsoever impairment; it won't even be visible in an image. At that place are pocket-sized particles of grit inside every lens, which are impossible to clean without taking apart the lens – and they have no touch on on a photo whatsoever.
Instead, I'm talking about lenses that have never been cleaned, with grime and fingerprints that haven't been removed in ages. Practise yourself a favor and get a microfiber cloth and lens cleaning solution. Bring them along on trips and apply them at to the lowest degree one time a week.
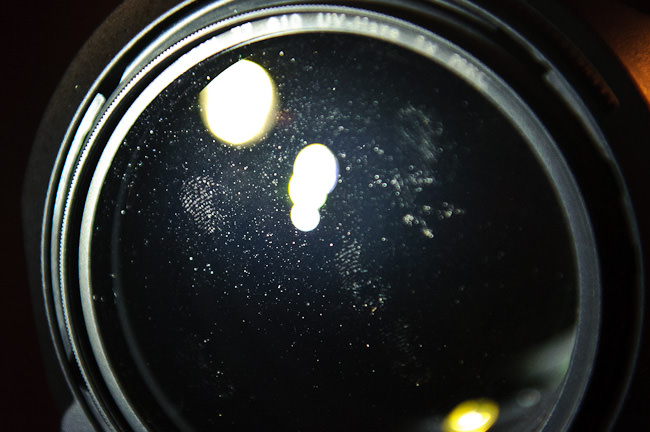
Don't Utilize a Cheap Filter
The second easiest style to get blurry photos 100% of the time is to apply a cheap filter on the forepart of your lens.
Personally, when I just started out in photography, my grandfather gave me an old, clear filter from his film camera. It fit my lens perfectly; I was so surprised that I kept it on my lens all the time, never worrying if the glass was up to today'southward standards or not. Turns out that information technology wasn't. The corners of all my photos were blurry, and whatever balmy brilliant area in the photo (like the sky or a lamp at night) turned into wicked flare. Here'south a photo I took with this filter, followed by a crop:

Merely, when you look at just a minimal ingather, the blurriness is piece of cake to see:

Don't make the same error I did! Yes, this was an former filter, but inexpensive ones today do exactly the same thing. Personally, I never utilise a clear, protective filter on my lens anymore, except in environments where I too demand protective eyewear.
Learn Basic Post-Processing
Post-processing isn't very high on the typical photographer's priority listing, but it probably should be. Sometimes, with the right post-processing, a practiced photo tin turn into something truly exceptional.
Information technology's easy to overdo information technology when yous're post-processing, so the virtually important thing is to make sure none of your edits are permanent (AKA "destructive editing"). Either use the Save As command to preserve your original files or, better yet, edit in software that stores your edits in a separate file rather than baking them into the image.
Post-processing is most imparting a mood and guiding your viewer's eye in an image. You lot'll get ameliorate and better at this over time. My top recommendation? Exist subtle. You don't desire your photos to look over-processed.
Support Your Photos
Almost every lensman I know has lost some important photos at least once in their life. Don't let this happen to yous.
For starters, keep a backup of every single one of your photos. Your photos should never be stored on just a single difficult bulldoze at a time, considering eventually your hard drive will break. Information technology's not a question of if, but when.
Ideally, y'all would have at least three copies of all your photos at a given time. This should include at least two different media types, such every bit an internal difficult bulldoze and a removable storage medium. And at least one of the backups should be stored off-site. This is known as the 3-ii-1 rule. It's the best fashion to avoid losing any of your photos.
Personally, my photos are my well-nigh important possessions, and I don't desire to lose them no matter what. My hard drive is backed upward online in real-time, and I have several external hard drives with complete backups equally well. It's overkill, merely that'due south the betoken.
Get Organized
Whether yous're an organized or messy person, information technology'due south very important that your photos are piece of cake to notice. It'south not just about speeding up your workflow; if y'all don't recall how you've organized your difficult bulldoze, you lot might end upwards deleting a binder that contains important images without realizing it.
My method is simply to create a new folder of images for every twelvemonth, then split each year by months (labeled "01 January," "02 February," and so on, for alphabetical order). Then in my mail service-processing software, I sort and organize the photos separately into different collections. This way, I can find images from a given location or intended for a item project.
Merely this is just i of many possible methods. Some photographers prefer to organize their photos past year, then split each year by specific events rather than months. The exact method doesn't matter; use what you're comfortable with. But make sure that yous offset good habits early, or you'll eventually encounter a lot of bug.
Endeavour Something New
The more you experiment with photography, the more interesting it becomes. It's easy to fall into a routine and take like photos over and over, and there'due south aught wrong with that, only information technology's as well important to try something new from time to time.
Requite macro photography a shot, or examination some new lighting techniques. Branch out to a different post-processing manner. Exist spontaneous and bulldoze to a location you've never photographed earlier. There are so many ways to try something new in photography, and you won't regret it if you lot do.
Usually, you lot'll discover something – either a new technique or a personal preference – that y'all can bring back to your regular photography for good results.

Run into Other Photographers
Meeting other photographers is 1 of the all-time ways to continue learning and improving, either for inspiration or for advice.
You'd be surprised how much people enjoy sharing their tips and techniques with other photographers. You lot'll rarely encounter secrecy or disdain; even the bang-up Ansel Adams wrote several books explaining his photographic techniques.
If you're the type of person who prefers cocky-guided learning in photography, this still applies. Inquire questions on online forums, email photographers whose work you adore, and otherwise save resources you lot find valuable. No matter what, don't stop learning. In that location'southward always more to learn.

Fix Your Weak Points
If you're still trying to wrap your head around shutter speed, aperture, and ISO, it can be tempting to revert back to Machine mode rather than practicing what yous don't empathise. That's a huge fault!
If you're trying to learn portrait photography, but you're having a hard time getting lite from your flash to wait good, information technology tin can be tempting to accept all your indoor pictures next to a window for squeamish light. That's also a huge fault!
If you're trying to larn post-processing, but your software is confusing, it can exist tempting to shoot all your pictures in JPEG to become something good out of the camera. But – yous guessed it – that'south another huge mistake!
Don't work around your weak points. Set up them. The best way to improve your photos is to clarify what you don't nonetheless understand, and so spend the necessary time to learn it. This applies nigh of all to beginner photographers, who naturally have the nigh to learn, only even experts would practise well to follow this advice.
Expect at Your Old Photos
I've noticed that a lot of photographers accept a tendency to take photos, choice out the best ones from a shoot, and so rarely or never return to the others. But there are many reasons why your former, unused photos are some of the most valuable in your portfolio.
First, they help you lot fix your weak points. Just ask yourself, on average, why are your bad photos bad? Maybe you tend to focus incorrectly, expose too dark or brilliant, etch awkwardly, and so on. All of that is very useful information since it helps you better the trouble next time.
On elevation of that, you might detect an old photo that truly sings – yet somehow you didn't observe information technology the first fourth dimension. This happens to me from time to time, and it feels similar striking gold.

Have Fun
Photography is supposed to be fun. Even professional photographers chose this career, almost without exception, considering they enjoy photography. Don't allow that spark dice out.
Some of this is downward to trying something new, every bit mentioned earlier – and also continuing to larn new skills. Simply it's also virtually not taking photography also seriously, or getting defenseless upward in camera equipment at the expense of photography itself.
I see a lot of people online go into heated debates about their choice of camera brand, or a good/bad/opinionated review they meet from someone else on the internet. Who cares? All of this is contributing to exactly what you're trying to avoid – making photography just another annoyance in your life, not a source of happiness or joy.
Instead, retrieve nigh why you like taking pictures. It'southward meaningful; it's a way to see amazing sights and run across brilliant, artistic people. No surprise, the best photographers I know are ever the ones who have the most fun with it.
Shoot a Lot and Experiment!
Practise, practice, practice. It'due south a tip that will get you ahead in any skill, not just photography.
Cameras are complicated. So is post-processing software, and then is (maybe specially) the artistic side of photography.
The more than you experiment, and the more photos you take, the better your photos will be. It's not just about the quality, either – it'southward also about quantity. You'll find that afterward trips and photoshoots nigh always take more winners than your early attempts.
That'southward not to say your early photos are always going to be bad. The famous Henri Cartier-Bresson quote, "Your first 10,000 photographs are your worst," is a bit overdramatic. Merely I accept to admit that there's some truth to it. You tin can take great photos when you lot're starting out, but it requires some luck, and you'll continue getting better as you lot take more pictures.
In short, the more than time you spend on photography, the easier it volition be to take the photos you lot have in listen. That's the end goal in all of this – translating the image in your head, and the emotions you lot feel, into a photo that makes other people experience the aforementioned affair.
Source: https://photographylife.com/photography-tips-for-beginners
Post a Comment for "what is the first thing you need to do before looking through the ocular lenses?"